
Table of Contents
ToggleA rectangle patio is one of the most versatile canvases for outdoor living, but only if you know how to use the shape to your advantage. Whether you’re working with a narrow strip alongside your house or a generous 20-by-30-foot slab, the length and width of a rectangular space demands thoughtful planning. The good news: rectangle patio layouts are easier to work with than irregular shapes because straight lines keep sightlines clean and furniture placement straightforward. This guide walks you through seven practical layout approaches that transform a blank rectangle into a functional, inviting outdoor room, no guesswork required.
Key Takeaways
- Measure your rectangle patio precisely and identify permanent features like grills and trees to guide furniture placement and create functional zones without guesswork.
- Linear furniture arrangements work best for narrow rectangles by placing seating along one long edge and keeping the opposite side open for movement and flow.
- Multi-zone layouts for larger rectangles (16+ feet wide) allow multiple activities—dining, lounging, and entertaining—to happen simultaneously without crowding the space.
- Pathways and hardscaping materials like brick or pavers are essential for defining zones, improving safety, and making your rectangle patio layout feel intentional rather than random.
- Consider sun exposure and afternoon shade when positioning dining and lounging areas, and orient seating toward any attractive landscape views for maximum enjoyment.
- Start with essential furniture and add elements incrementally over time while observing how the space functions before making the next investment.
Understand Your Rectangle Patio Dimensions and Layout Goals
Before moving a single chair, measure your patio precisely and write down the dimensions. A 12-by-20-foot space calls for different furniture placement than a 15-by-40-foot rectangle. Use a tape measure at least 25 feet long, inexpensive retractable tape measures aren’t reliable for full patio dimensions.
Next, account for sightlines and foot traffic. The path from your back door should feel natural and unobstructed: don’t block the main walk-through route with a dining table. Similarly, mark any permanent features: grill locations, fire pits, tree trunks, or air conditioning units. These anchors will dictate zones in your layout.
Consider shade and sun exposure. Most people gravitate toward seating areas in the afternoon shade, while dining zones work better with morning sun to avoid glare during dinner. Check how shadows move across your patio throughout the day, even a simple observation at 9 a.m., noon, and 5 p.m. gives you enough data to position shade-loving spots or sun-exposed lounging areas. Finally, think about the view: if your patio overlooks a garden or landscape feature, orient seating toward it.
Linear Furniture Arrangement for Flow and Function
For narrow or modest-sized rectangles, a linear arrangement works beautifully. Place a lounge seating group (sofa, two chairs, coffee table) along one long edge, leaving the opposing side clear for movement or future additions. This layout pulls the eye along the length of the space and makes a tight footprint feel less cramped.
A standard outdoor lounge set occupies roughly 8 to 10 feet along one side. Pair it with planters or a low privacy screen behind the furniture to define the zone without choking airflow. Keep the facing side, the other long edge, open for pathways or secondary seating. This asymmetrical approach avoids the awkward “facing each other across a chasm” feeling that can happen when you center furniture in a narrow space.
Linear layouts also work well for adding function incrementally. Start with seating and a small side table. In year two, add a bistro-height dining table on the opposite end. A quality outdoor sofa in a durable fabric like Sunbrella can anchor this layout for 10+ years and supports the entire design.
Multi-Zone Layouts for Diverse Activities
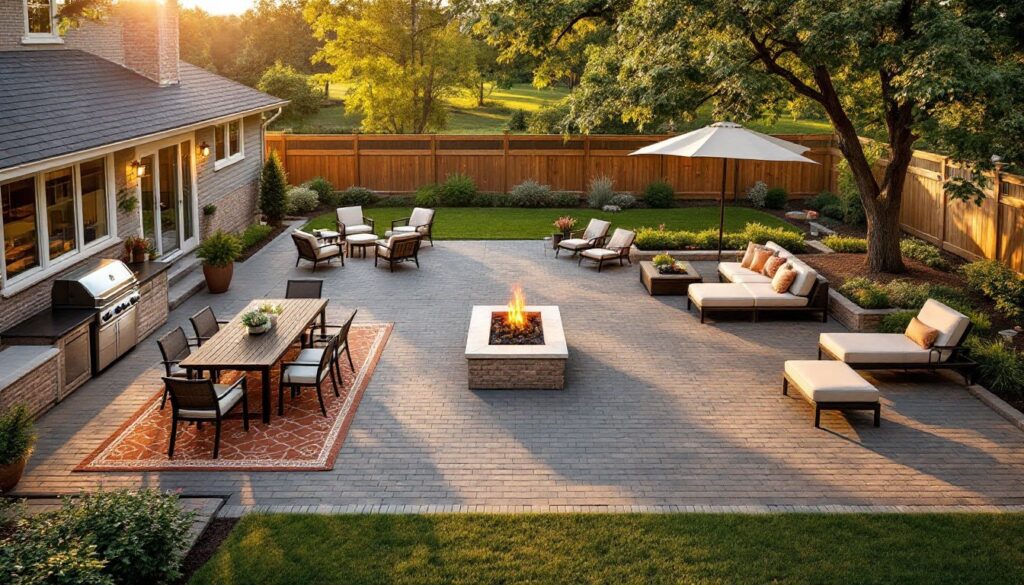
Larger rectangles (16 feet or wider) benefit from dividing the space into two or three distinct zones. This lets different activities happen simultaneously without feeling cramped or awkward, one person can chat in the lounge area while another grills and a third dines.
Dining and Lounging Zones
The classic split pairs a dining zone at one end with a lounge zone at the other. A standard outdoor dining table (4-by-6 feet for seating four to six) requires a clearance radius of about 3 feet from the table edge so chairs pull out freely. Place it near your kitchen access or grill for convenience. A 6-by-12-foot zone is comfortable for a dining setup with walkways.
The lounge zone sits at the far end, ideally where afternoon shade naturally falls. A lounge grouping (sectional, chaise, and chairs) typically needs 10-by-12 feet to feel balanced and functional. Separate the zones with a rug, planter row, or subtle hardscaping (a step up or threshold) to signal the transition. This visual division prevents the space from feeling chaotic and gives the eye a natural resting point.
Social and Entertainment Zones
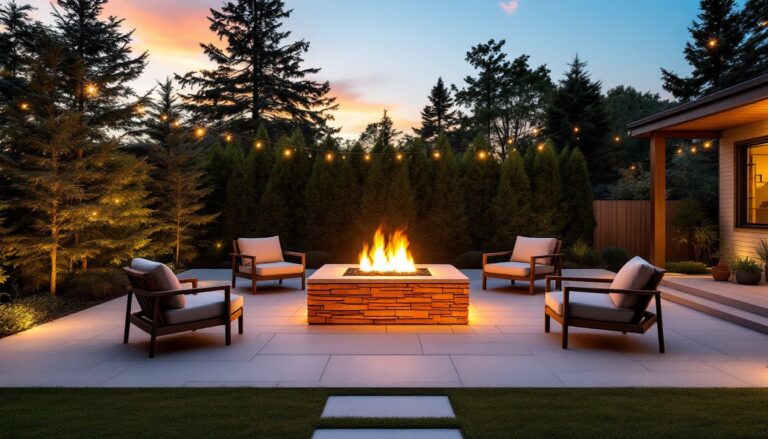
If you entertain frequently, consider a social hub in the center with lounging on one flank and dining or a bar area on the other. A fire pit, water table, or high-top bar seating can anchor the middle, roughly 6-by-8 feet of space. Arrange lounge seating (chairs or sectionals) around it in a U-shape or informal circle so people face the focal point and each other.
Hardscaping and pathways play a big role here. Step-out or raised platforms around a fire pit zone create clear boundaries without walls. A properly designed hardscape using brick or pavers adds texture and reinforces the zone concept while making the overall layout feel intentional rather than random. Left uncontrolled, multi-zone layouts can feel scattered, hardscaping anchors each area and ties the whole space together.
Hardscaping and Pathways to Define Space
Pathways are the unsung hero of patio layout. They do more than move people around: they physically define zones and improve safety. A simple brick or paver pathway, even just 3 feet wide, running the length of a rectangle patio signals “walk here” and keeps foot traffic out of seating and dining areas.
Consider hardscaping materials carefully. Brick and permeable pavers are durable and forgiving for DIY layouts: they work in running bond (offset rows) or herringbone patterns. A running bond pattern is fastest to install and works well in rectangles because the long lines emphasize your patio’s length. Concrete is budget-friendly but can crack if your base prep isn’t solid, invest in a 4-inch gravel compacted base before pouring.
Use color and texture to separate zones subtly. A change from light pavers to darker brick signals a visual transition without a wall. Step-outs (a small raised platform 2 to 4 inches higher) define high-traffic or social zones and improve drainage. A home improvement site like Hunker offers visual guides to patio patterns that adapt well to rectangles.
For a personal touch, edge your zones with planters or low-growing perennials. Native shrubs work best in most climates, check your local hardiness zone before planting. A 12-inch border of landscape edging keeps mulch in planters and adds a finished look without cost.
Conclusion
A successful rectangle patio layout begins with honest measurements, clear activity zones, and hardscaping that guides flow. Whether you choose linear simplicity or multi-zone complexity, the key is matching your layout to how you’ll actually use the space. Start with what you have, add one element at a time, and observe how the space feels before the next investment. Your rectangle patio can become your favorite outdoor room, one thoughtful layout decision at a time.